Citizens Benefited Through Advocacy
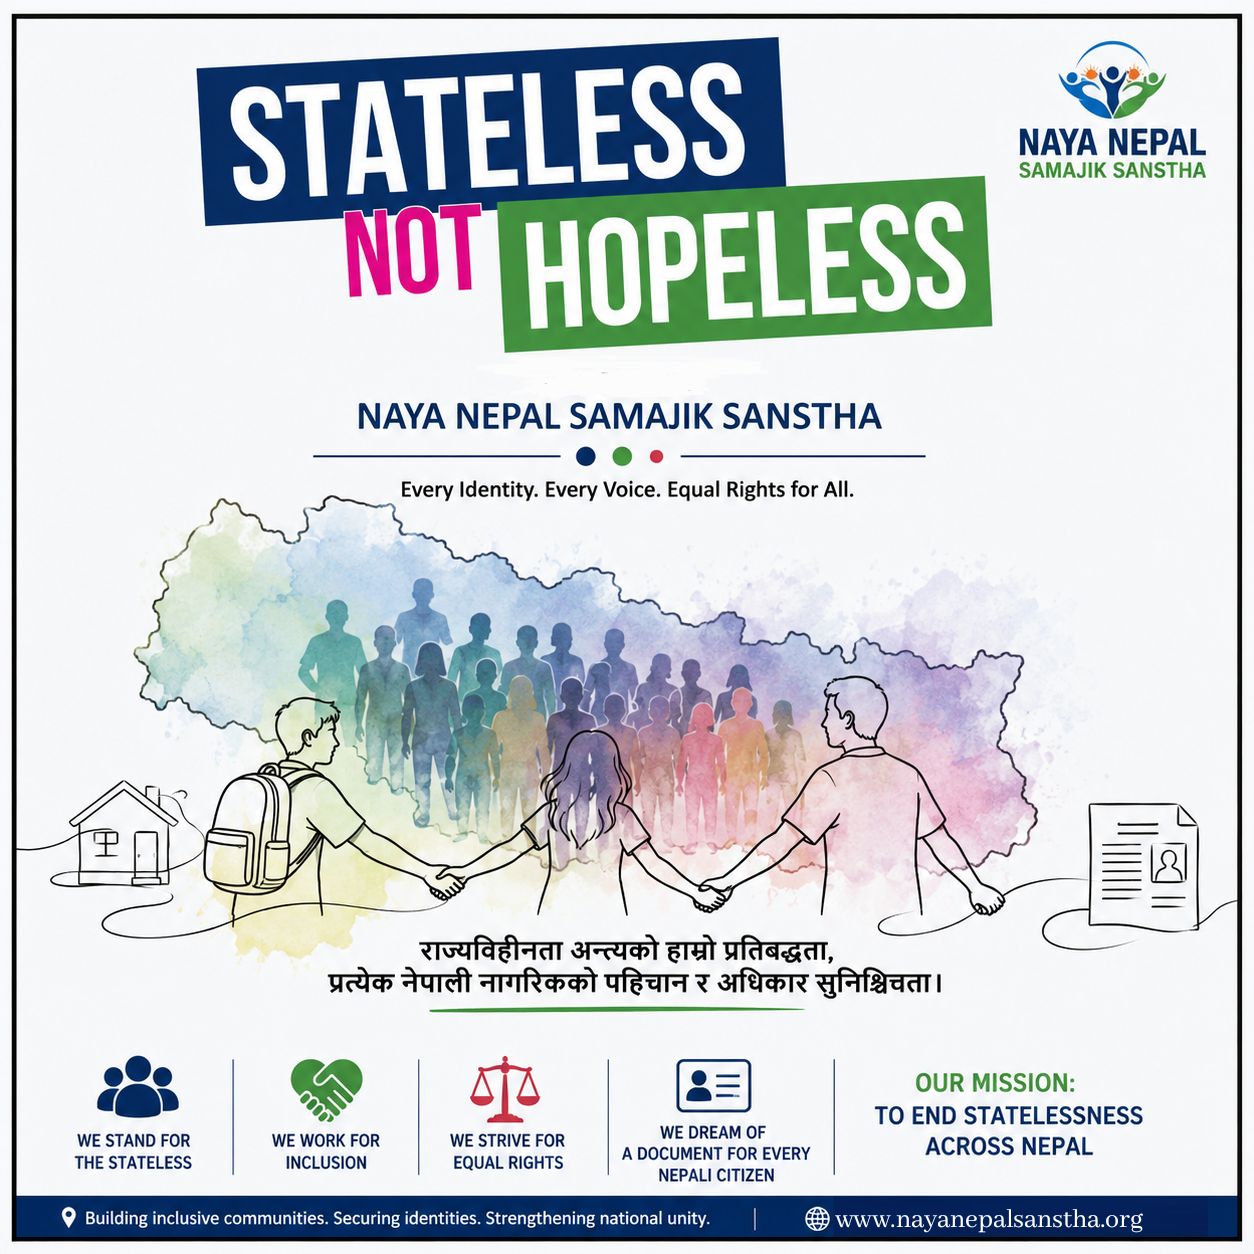
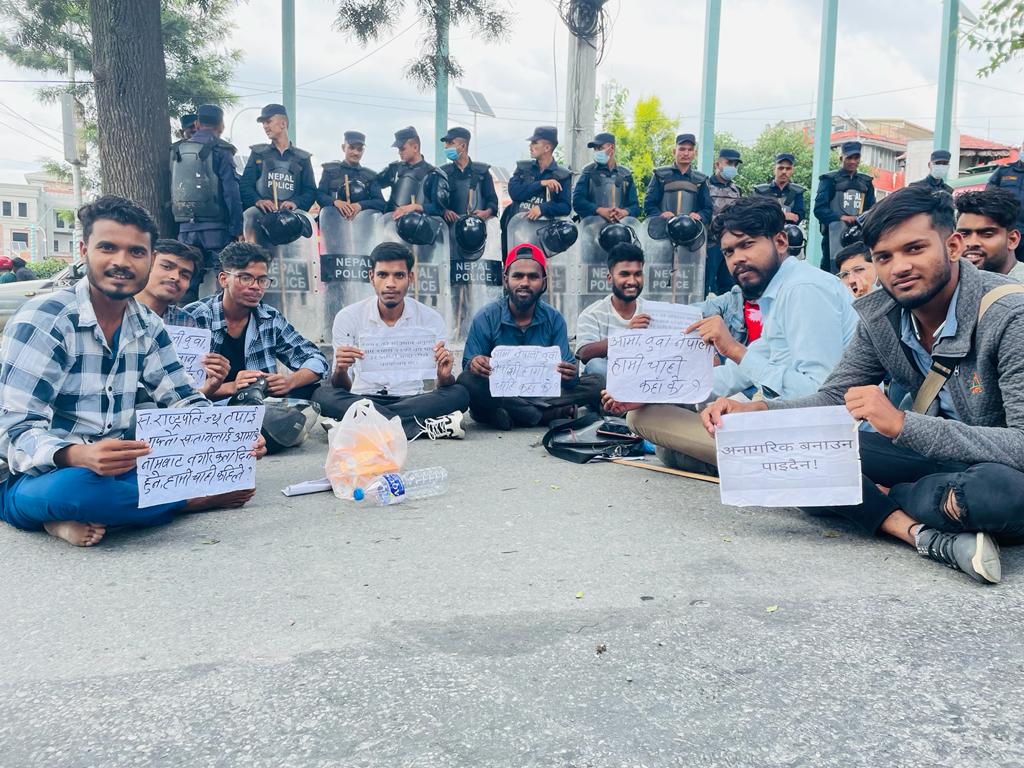
We work directly with citizenship affected communities, providing legal support, awareness, advocacy, and policy engagement to ensure dignity and equal rights.
Guidance and legal assistance for affected families.
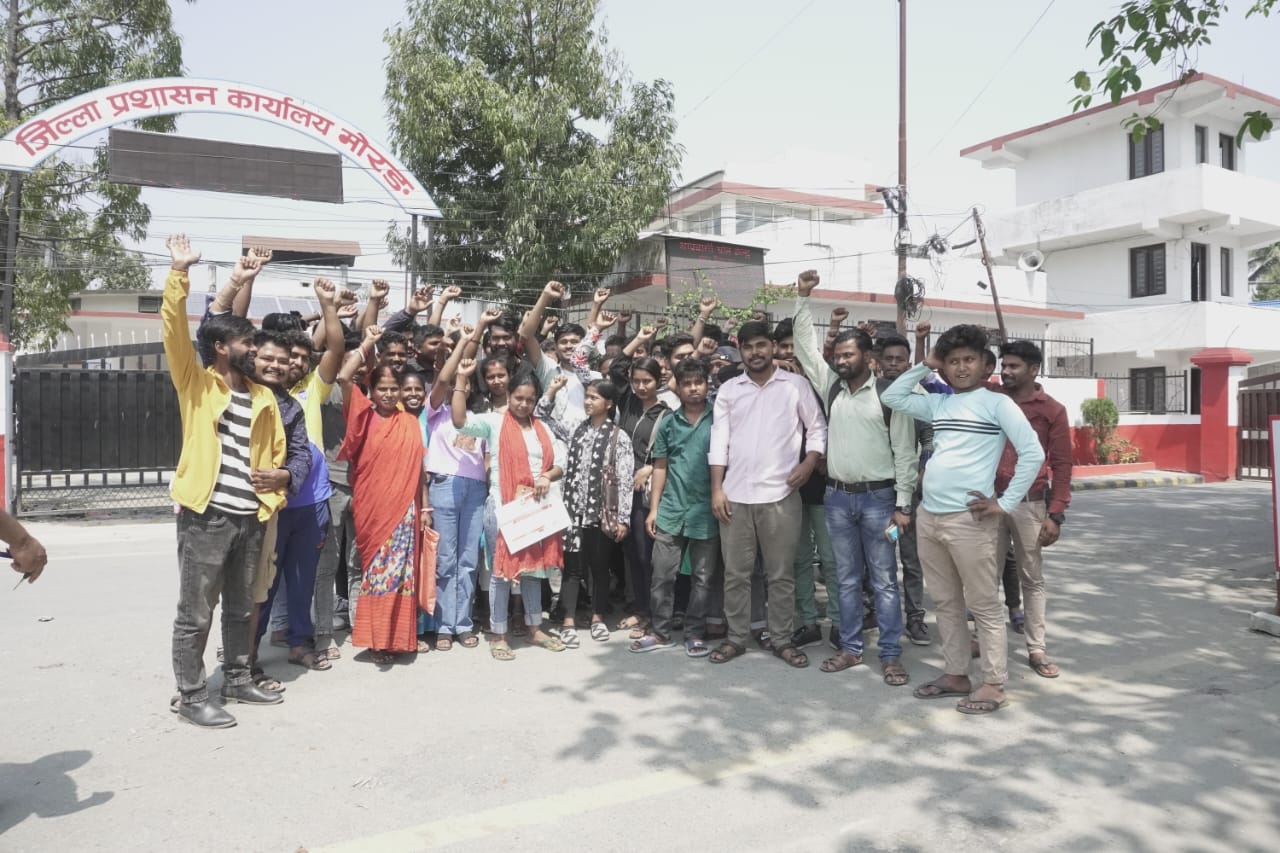
National movements that influence policy change.
Awareness and help desks across Nepal.
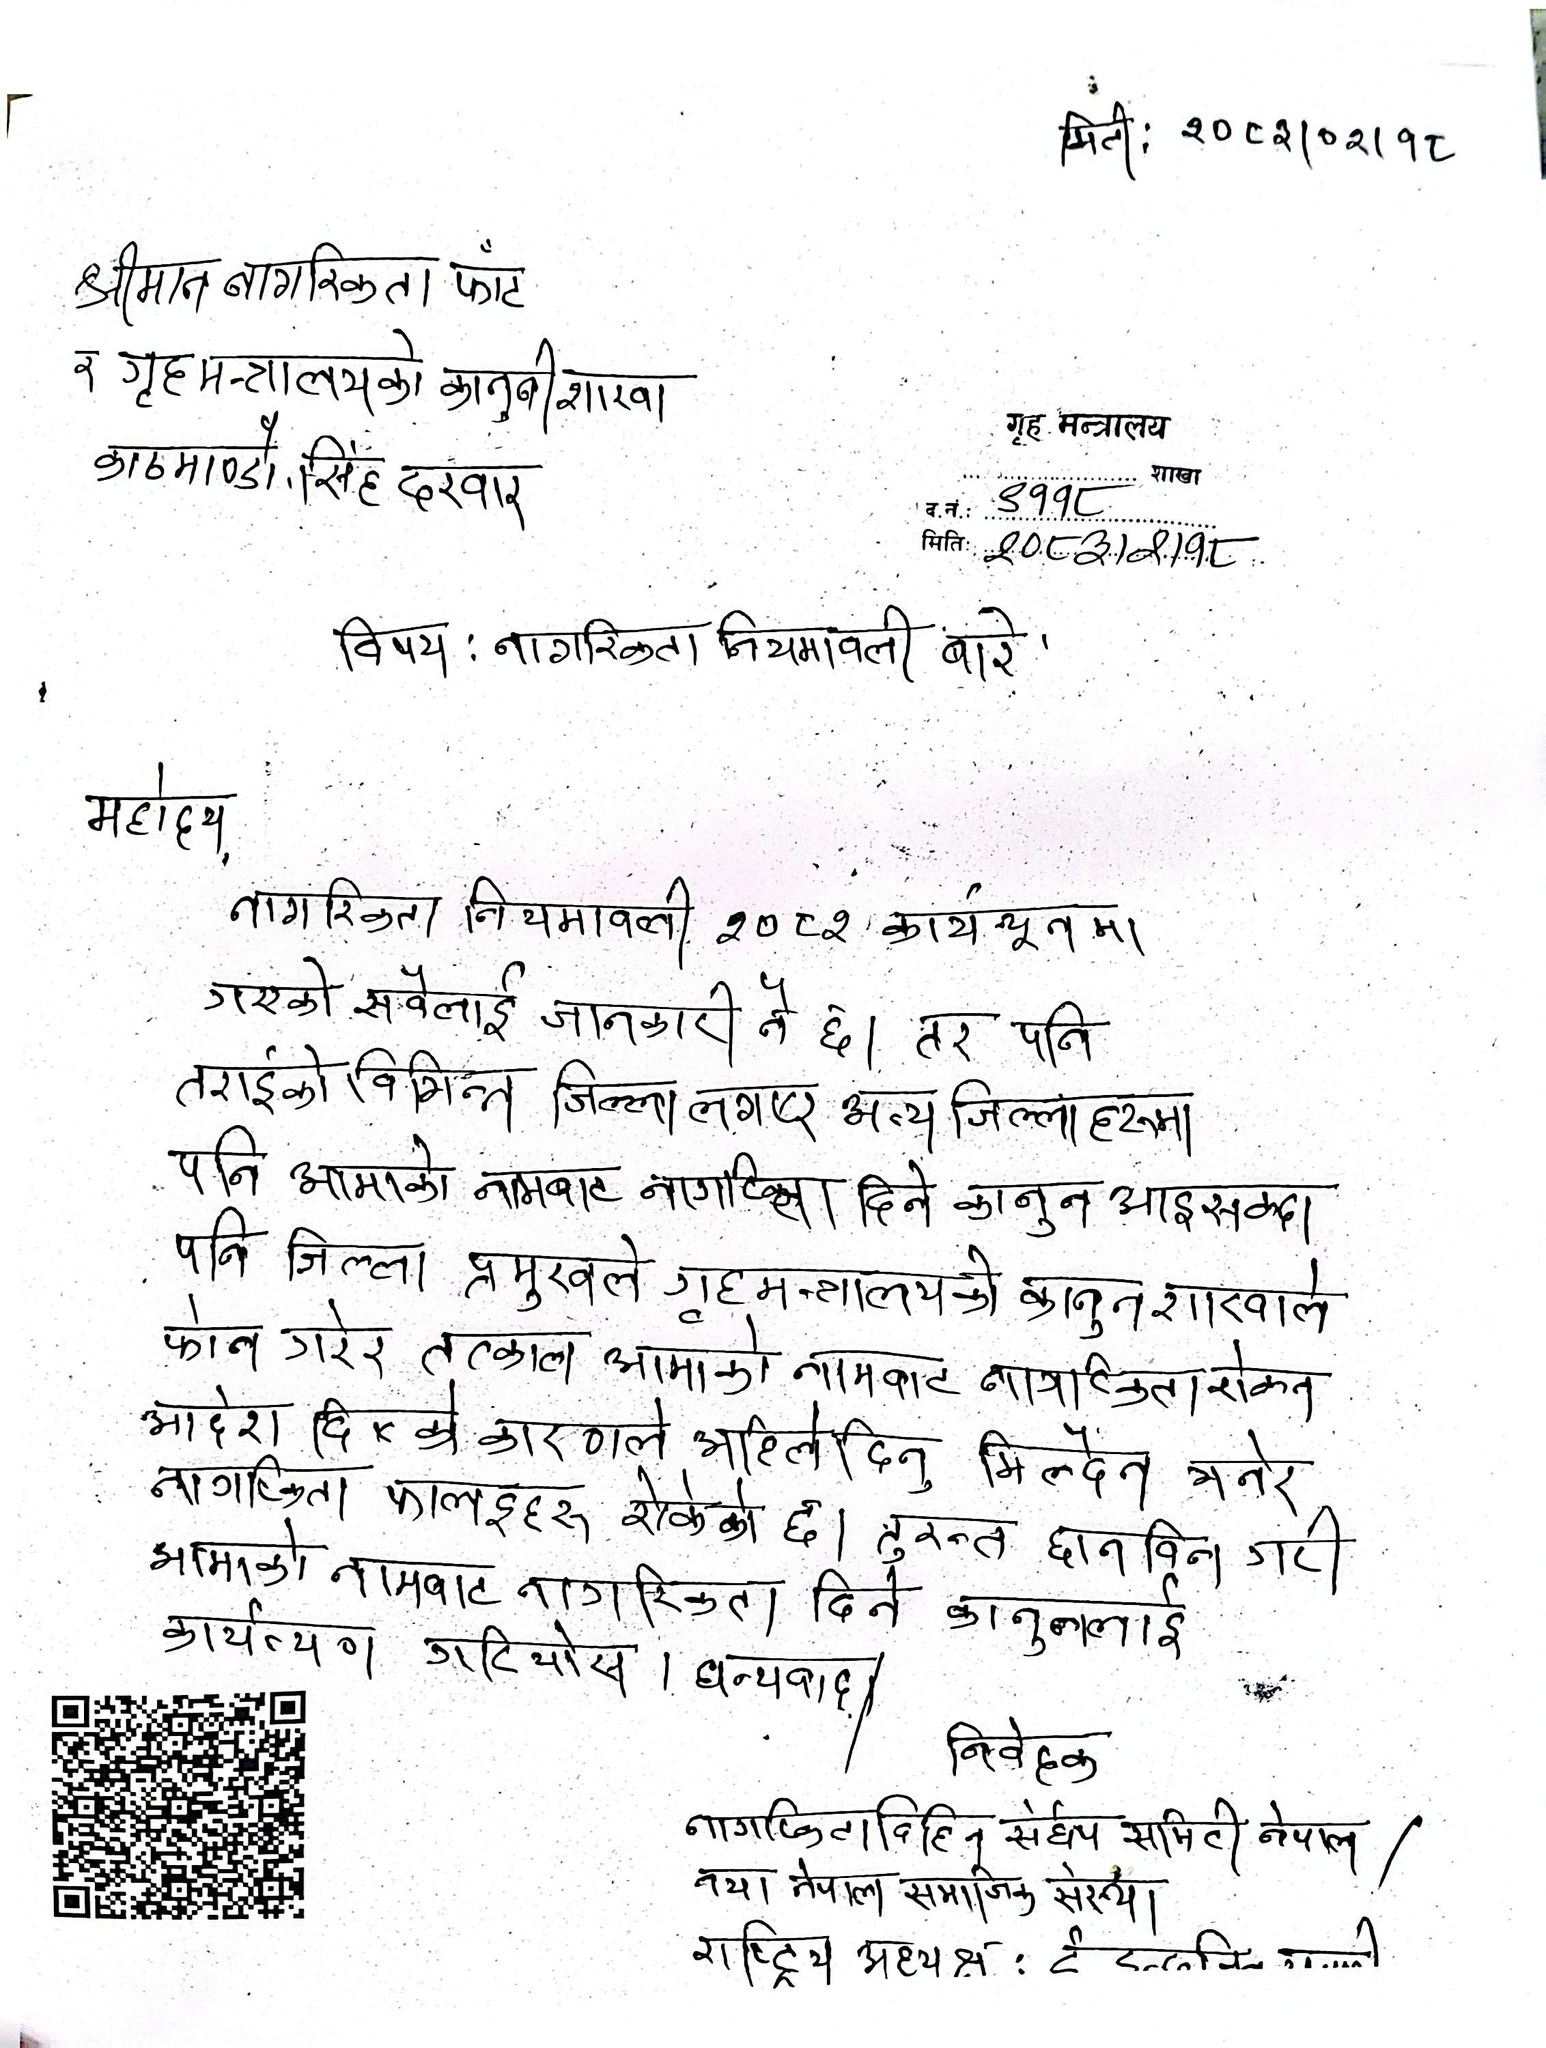
Once a law has been implemented, rights...
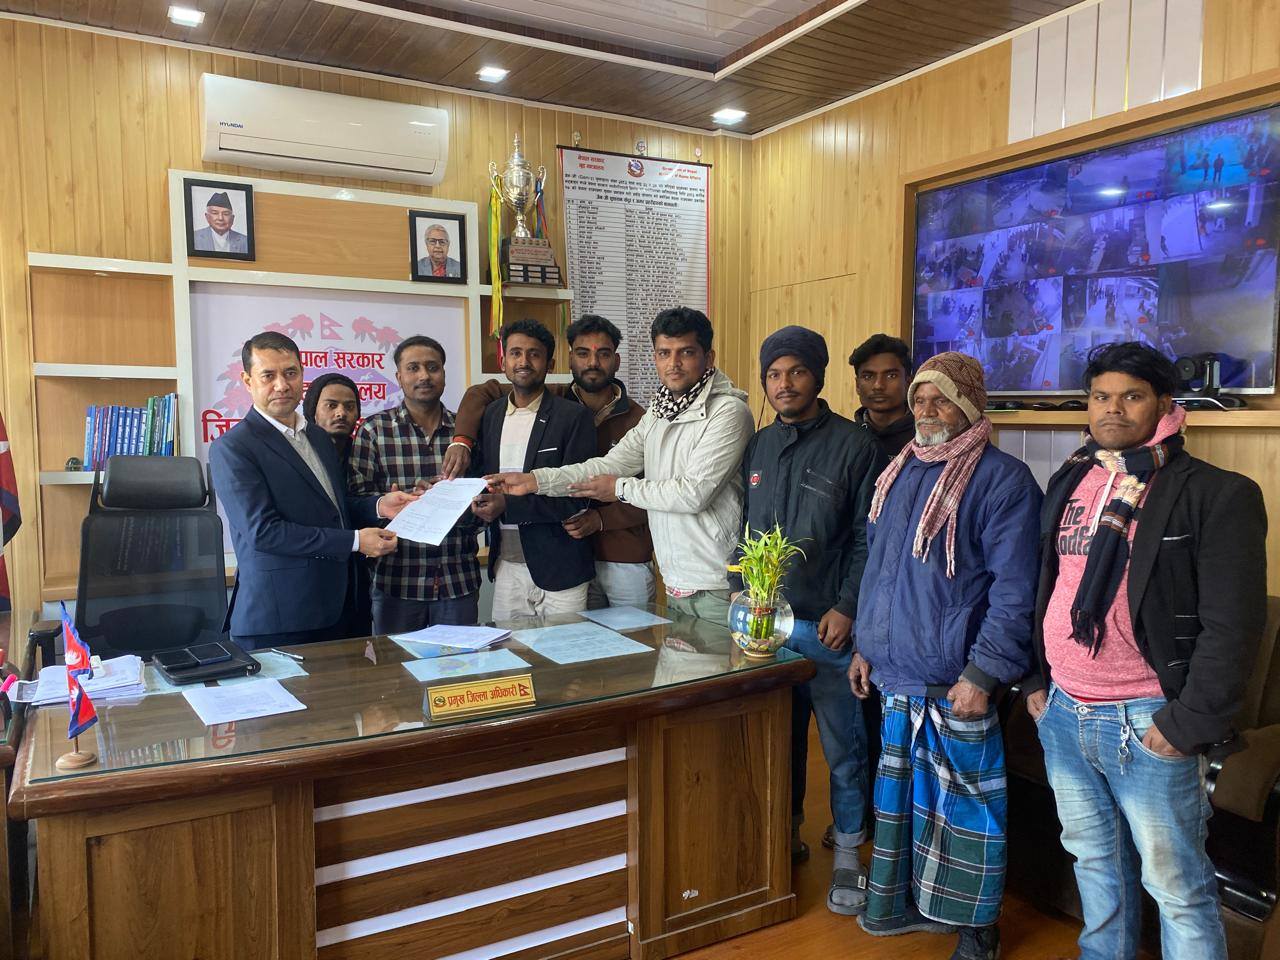
Read MoreSunsari, Jan 6 — A memorandum was submit...
Read More

.jpg)
Years Of Experience
Naya Nepal Samajik Sanstha is a community-based organization working to ensure that no one is left behind due to lack of citizenship or identity. Through advocacy, legal support, help desks, and awareness programs, we continue to promote dignity, inclusion, and equal rights in Nepal..